Wednesday, August 24, 2016

Quick n' Dirty Stitched Saying


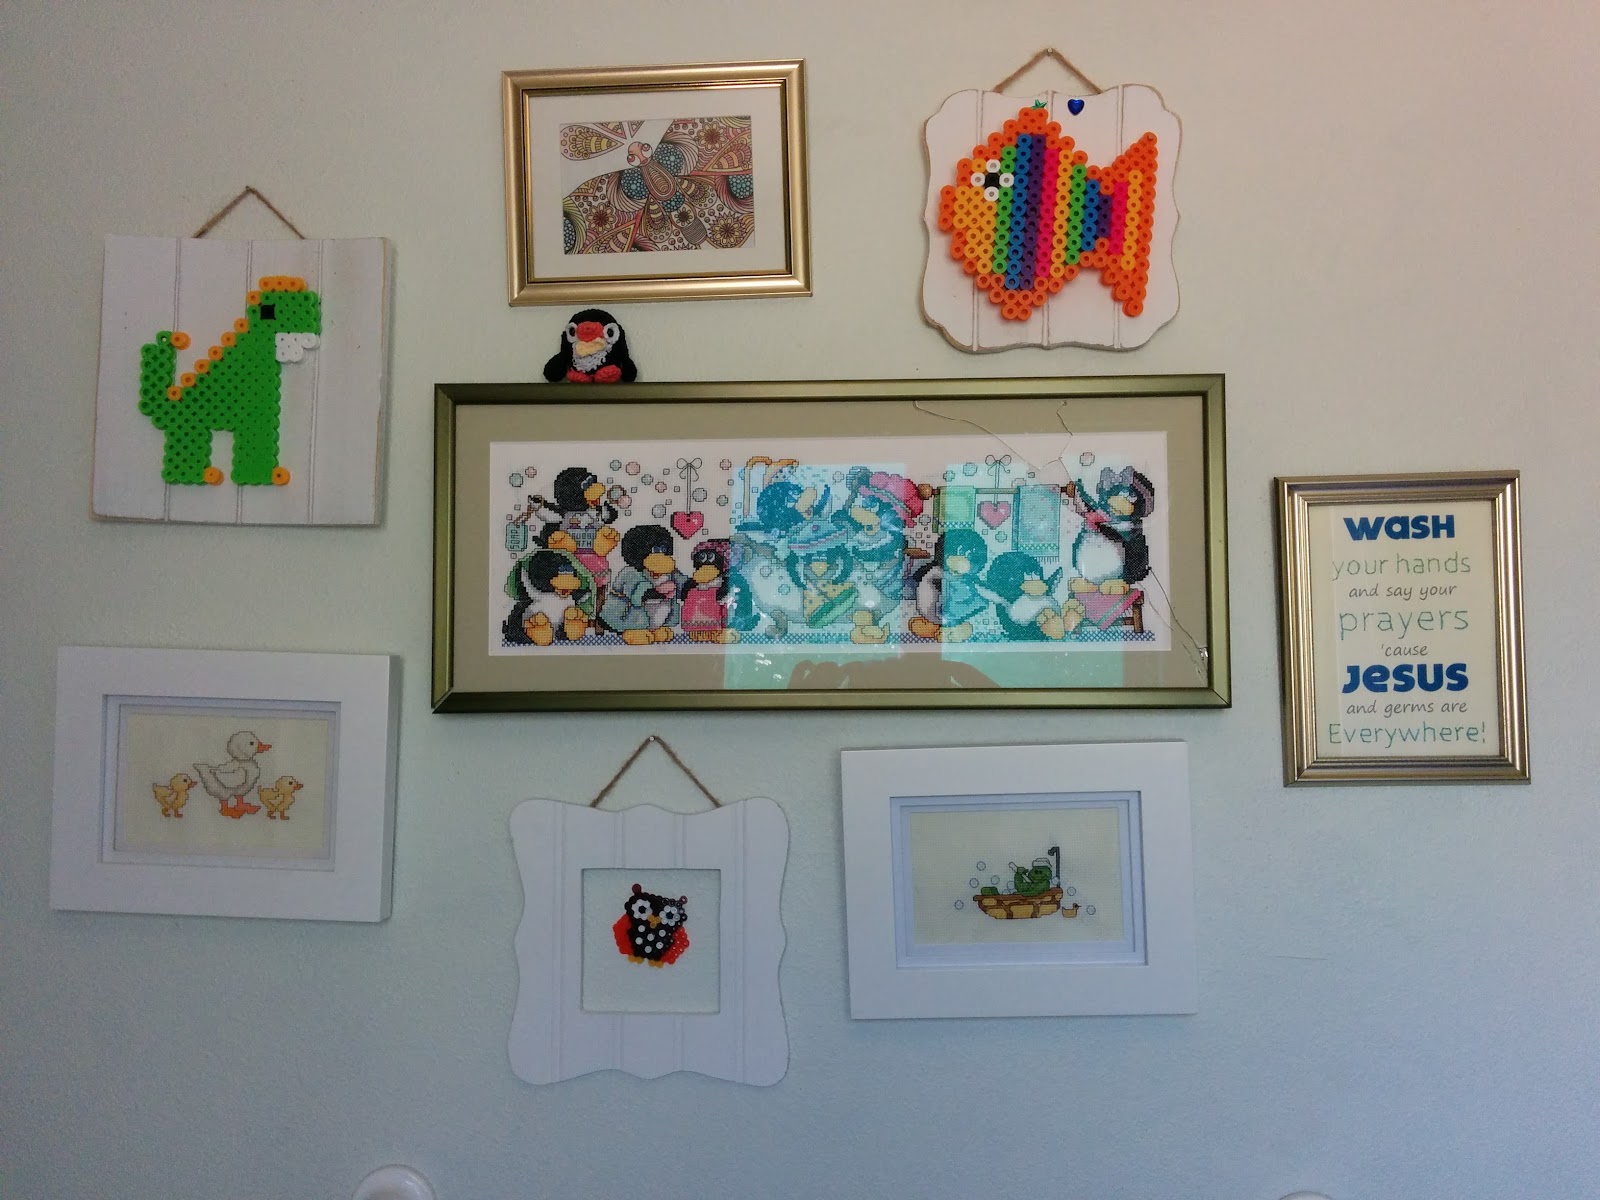
Some time back I was working on decorating my bathroom wall. After hanging my Mom's cross-stitch, my kids' Perler creations, and a couple other bits and pieces, I felt like it needed something more. I remembered an amusing little saying I'd seen in a friend's bath: "Wash your hands and say your prayers, 'cause Jesus and germs are everywhere!" This seemed perfect for the space.
Since my grouping has several stitched pieces, I started by looking for (free) cross-stitch patterns with the saying. What I found wasn't free, and most had additional pictures or motifs that didn't fit my grouping. I briefly investigated online cross-stitch pattern makers, but the project was getting bigger and bigger as I planned and played. What I wanted was something more than simple print art, but achievable in just an hour or two of crafting. So I compromised with this easy hybrid print and stitch project.
It may not be terribly obvious from a small photo, but the words "your hands," "prayers," and "Everywhere" are stitched, while the others are printed. The whole thing - including making the templates - only took 2-3 hours. But I'm giving you my templates, so it will be even faster for you!

At the end of the tutorial I'll also give a few tips for composing your own templates for stitchable print-art.

Materials and tools 


  • These Images: Canvas (Color)Canvas (B&W)Template
  • Printer 
  • Colored card stock, fairly heavy. 
  • Embroidery floss in coordinating colors
  • Scrap piece of heavy cardboard at least 8.5 x 11
  • Thumb-tack, push-pin, or quilter's pin
  • Scissors for paper and thread
  • Embroidery or cross-stitch needle (blunt is fine.) 
  • 5x7 frame for your finished project 

1. Download and print the two images. 


  • The first image contains the entire saying and will serve as your stitching template.  Print it on plain paper. 
  • The second image is you actual "canvas." Chose either the color or B&W canvas image. Print it on your card stock, making sure to change your printer's settings for heavy paper if necessary. (My laser printer goes all smeary if I forget to change the settings for card stock!) 

2. Make your stitching template 


  • Lightly tape or pin your card stock image to your scrap cardboard
  • Position your template image Exactly on top of the card-stock, using the printed border to ensure alignment. Tape or pin it down too. 
  • Now this is where it gets tricky.
    Using a push pin (my favorite, but anything small and sharp will work), poke a hole for the beginning and end of each stitch you'll need to make your words.
    "But how do I know where my stitches will begin and end?!" you ask. Well, there's a bit of an art to it, but you'll want to think of it as making a dot-to-dot.
    The obvious places are at the beginning and end of each line, and at each intersection in a letter (i.e. each bar of capital 'E').  My recommendation is to use a single stitch for long vertical lines (i.e. the top half of lowercase "h.") Multiple stitches on a straight line are very hard to get even, even when using a template.
    Curved and round letters are trickier: you need enough stitches to make it appear rounded instead of choppy, but not so many you risk ripping the paper by putting the holes too close together. I ended up with 7 or 8 holes for my "o." Lowercase "r" was the most challenging for me, since I didn't want it to look like a "v" when I was done. I put in some very short stitches. 
  • When you're done, take your template off your card stock, but don't discard it: you'll find you need to refer to it for stitching.  You will have something that looks like this:

3. Back-Stitch words onto the card stock. 


  • If you aren't familiar with this nice, simple stitch, check this little tutorial at "Sublime Stitching." 
  • I used two strands of thread, but feel free to experiment. 
  • Refer to your template frequently, because your eye is going to have a really hard time making anything sensible out of your little dot-to-dot!

4. Carefully cut out your finished project along the lines, and pop it in a frame. All done! 


This is a fun little technique, and if you want to spend the time, there's no reason you couldn't stitch an entire project on paper rather than selected words. It might also be fun to experiment with stitching around the perimeter of block letters, or adding flowers or other embellishments. The sky's the limit! 
If you are preparing your own templates, be sure to select a nice, clean, and especially lightweight font for stitching.
I used the free image program "Gimp" to make my templates. It's a full-featured editor, though, and not for the faint of heart. 
I have not tried the online editor Canva yet, but if you're not familiar with Gimp you could give it try. You have to sign up (it's free), but you can create and what you need directly from the web. 
Here is a tutorial I found on using Canva to create Bible Verse printables.  Which, come to think of it, might be pretty fun to stitch! 


Hey, let me know what you come up with. I'd love to see your projects! 

Sunday, August 21, 2016

Quit Comparing Already!

Just now I was reading an acquaintance's FB post about how she was prepping lessons since her kids were starting (home)school tomorrow. My self talk went something like this "Oh no, I'm really not ready to start yet! But that's OK, 'cause it's not Labor Day yet. I wasn't really planning to get going in earnest until after Family Camp and Labor Day anyway. I wonder if I should anyway... I'm not very good at this. It makes me cringe to think about doing formal lesson plans. I hate cutting stuff out and laminating it and everything and... Arrgh!"
Thankfully, as I was starting to spiral into this garbage, I had to do a serious face-palm: we never actually Stopped school this summer! We did very little school during March and April while my husband was on sabbatical, so there was no formal break this summer. Sure, things got in the way, but mostly - at least three or four days a week - we sat down for Bible reading, and at least a couple of days a week we added math, handwriting, or etc.
This very week, for example, Grace and I have read a number of books together - as in, Grace is actually reading a significant portion of the words in the simpler books to me. And this largely at her request! This is a big step forward! (It helps a lot, I think, that I've entirely abandoned "how to teach your kid to read in 100 easy lessons" with her. James did great with this method, but Grace was bored stiff by it less than half-way through. When we started looking at books she actually cared about, reading got interesting again. I am so thankful for the flexibility of actually being able to say "OK, this isn't working, let's put it away!")
Grace reading an Elephant and Piggie book with Lucy - and Nettle!

On top of that, we went through probably 6 or 7 chapters in "Life of Fred: Apples." This is also at Grace's level, not James', and she's mostly quite interested - at least in the stories. There's a little more prompting and "encouragement" needed from me when it comes to the exercises (and I'm learning she really isn't solid on how to write many of her numbers!), but we're making progress. And again, this is homeschool. If she needs to take a couple of minutes to calm down out in the middle of the deserted cul-de-sac while I sit on the porch patiently waiting, it's OK. We can work with that. And if she wants to practice her memory verse by adding some ballet moves, double bonus!
Both big kids also spent 3 hours each afternoon at "Building Camp" at the local Christian school. The girls also had their ballet class and James his taekwondo plus a speech therapy lesson.
James did little formal school work outside of a couple of minor copy-work assignments, but even that is a victory for me, since he resists them so thoroughly.  In fact, it was a really rough week for James (and his parents!) He's struggling mightily against anything that sounds like it might be work, and he's being very disrespectful about it, especially after he's lost his temper - which is happening several times a day. I don't know how much progress we made on this issue this week, but I do know it consumed nearly all of my energy, emotional and otherwise, so it is purely amazing that we made any school happen at all. But as one of the blog posts I recently came across said, addressing behavior and attitude *is* your work: it's not a distraction, it's the main event. It's actually far more important than just about anything else you're teaching.  It's hard to put it on your schedule, or create a curriculum for it, because it happens in real time. Of course, the rest of school does too, I think, if you're actually doing it right. :}

So, yeah, my school 'storage space' still consists of a vaguely localized pile of books and a file carton. And my notion of what the 'start of school' should look like is amorphous at best. We probably won't have a kick off party. Maybe I'll get around to dressing them up in nice clothes and take a Pinterest-worthy picture with a sign in front of the house - and then again, maybe I won't. It's not the end of the world. Neither is it a big deal if I start with the Spelling-U-See and writing curriculum right away in September. October would be fine too. Or even later. Especially if we find that we need to spend a lot more time than expected working on behavior and the willing execution of chores! ('cause, how do you plan for that?!) And if it's half-way through the year before I decide whether Grace is actually doing Kindergarten or First Grade, does it really matter? Isn't the whole point that I'm teaching her on her schedule the things she is ready for and eager to learn?
I need to frequently remind myself that we're not doing school in a box On Purpose, and that if my school actually Did look like my friends' schools (let alone anything I might see on Pinterest or a Mommy Blog), that would actually be a bad thing. I don't have their kids, or their specific strengths and weaknesses. We were designed for each other, and since I am clearly Not slacking off entirely, perhaps now would be a good time to quit beating on myself and giving myself the credit I am due.
Yeah.

PS: After writing this - at 11 o' clock at night! - I had a long and detailed nightmare about finding myself in a third grade classroom full of children. I realized that about half of the kids in that classroom were actually My students and were here with this other teacher only because I was new and needed a little prep time. My own classroom was next door and they'd be hitting it in force in mere moments. Of course, I hadn't prepared a Thing. No curriculum, no lesson plans, no nothing! I snuck out and into my own classroom hoping that the previous teacher had left materials for me. She had, but they were in a mess. There was certainly nothing I could pull out and present to the kids at short notice. Thankfully I woke up before my students showed up.
Anxious much about school? ;)

Tuesday, August 2, 2016

DIY Flower Fairies


My oldest daughter (5) noticed a couple of flower fairies hiding in a silk flower arrangement a while back. Rather than let her play with mine, I gathered the materials to make some of her own. This is one of my absolute favorite kind of crafts, because the end product doesn't simply look pretty: it can be played with!
My second favorite thing about this craft is how adaptable it is. There are a few basic materials you'll need, but after that you can improvise with whatever you find in your craft stash.
Oh, and my third favorite thing? No glue! (Or even sewing!)
Here's what we did

Materials

Required

  • Pipe cleaner or fabric wrapped floral wire (the former is Much easier for little hands. If you have to buy it, look for the extra skinny rather than the fuzzy variety. You don't need the bulk.) 
  • Wooden beads for heads, about 1/4 to 1/3 inch in diameter. 
  • Silk flower bush (we got ours from the Dollar Tree and it had enough blossoms for 5-6 fairies) 

Optional

  • Embroidery floss or yarn for hair
  • Beads of various shapes and sizes 
  • Scraps of fabric

Tools

  • Scissors or wire cutters for pipe cleaners
  • Better scissors for cutting yarn or thread
  • Pen (I used a fine line Sharpie) for drawing face

Making Your First Fairy 

I'm going to presume that you have most of the optional materials as I write my instructions here, but please, improvise! That's half the fun!
In fact, of you don't have any fake flowers but do have some old T-shirt material, scroll all the way to the bottom to see how you use it to make a flower skirt. 

  1. Remove a few blossoms from your silk flower bush. Ours had plastic centers that had to be pulled out of the flowers so they would have a hole in the center. 
  2. Thread a small coordinating bead and a blossom onto your pipe cleaner, leaving about 1.5 inches or so at the top. 
  3. Cut some hair for your fairy. I happened to have a bag of embroidery floss scraps left over from my mom's cross stitch kits. It was full of multi-colored, coordinating hanks, and I was excited to finally find something useful to do with them. I cut a bundle of 15-20 strands about 3-4 inches long
  4. Loop the short end of your pipe cleaner back through the hole in the flower 'hat.' Use this end of the pipe cleaner to secure the hair by wrapping it around the bundle, and then twisting it around the long end of the cleaner. 
  5. If you haven't already, thread on your fairy's head. 
  6. This is where you get to do all sorts of improvising. Our flower bush included some leaves that, when threaded on at this point, made great wings. You can also add a couple of pretty beads for the fairy's blouse, or wrap your pipe cleaner in yarn or embroidery floss.
    For another fairy we made wings by stringing 6 pony-sized beads on a pipe cleaner, folding it into a loop, and then repeating so we had a figure-8. We attached it just below the head with the loose ends of the pipe cleaner.
    Or, you can make your fairy a blouse out of another blossom. Thread it on above the arms. 
  7. Cut a piece of pipe cleaner for your fairy's arms. Attach it to your fairy below the head by wrapping it around the stalk a couple of times. You can add beads or other decorations if you like, too. Make a loop at the end for hands. 
  8. If you added a blossom to make a blouse, complete it by folding it over, allowing two petals to be "sleeves." Tie a piece of yarn or thread around the middle to keep it in place. 
  9. Now, add one or two blossoms for the fairy's skirt. 
  10. Finally, make her legs. If you want, add some beads before folding over a loop for a foot. Cut another piece of pipe cleaner and attach it by wrapping it well at the waist, decorate as desired, and fold into the second foot. 
  11. Use a fine-tipped permanent marker to draw your fairy's smiling face, and you're done! 

But since pictures are worth so much more than words, here are some close-ups of several of our fairies.
Fairy with leaf wings and beaded blouse and bloomers
Fairy with blossom blouse
Fairy with jeweled wings
My original fairies with floral-wire bodies
Fairy with "flowers" made from T-shirt scraps.

As promised, here's how to make a quick and dirty blossom our of a shirt scrap

Quick n' Dirty T-Shirt Blossom

1. Cut a rough circle 2-3 inches in diameter from your T-shirt fabric. I did not measure or use a compass or trace or anything! 

2. Fold into eights (fold in half, half again, and half again.) You can also stop at quarters, for a four-petaled flower.

3. Using a very sharp pair of scissors, trim off the two bottom corners of the triangle, making a rounded tear-drop shape. 

4. Stack a couple of different sized blossoms together to make your fairy's skirt, and another for her blouse. (A 4-petaled flower might work best for that!)